Basic usage

Scoopa has been designed to be easy to use and understand. Getting started can be divided in three parts: you need to create a folder-structure for your files, add at least one user and, of course, upload your first file.

Let's begin!


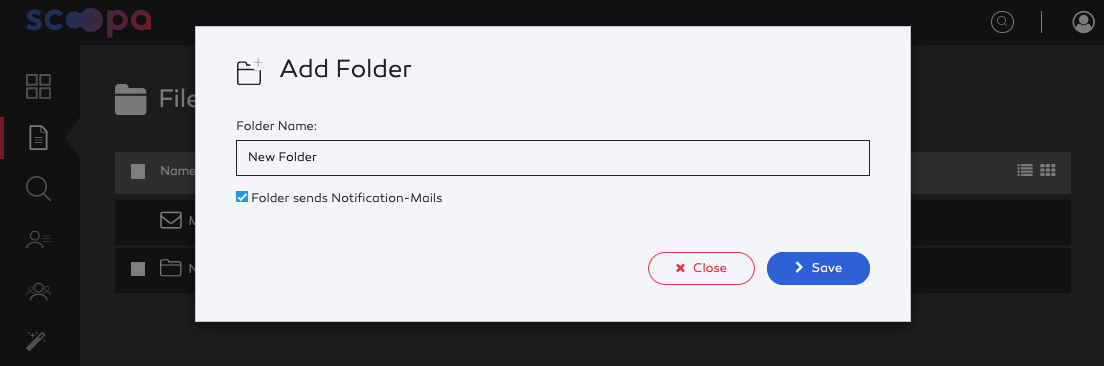
Create your first folder

To create your first folder, go to "Files" and click "Add Folder". Choose a suitable name (there are no restrictions concerning the name). You can choose if your new folder should send out notifications to your users when new files are available.
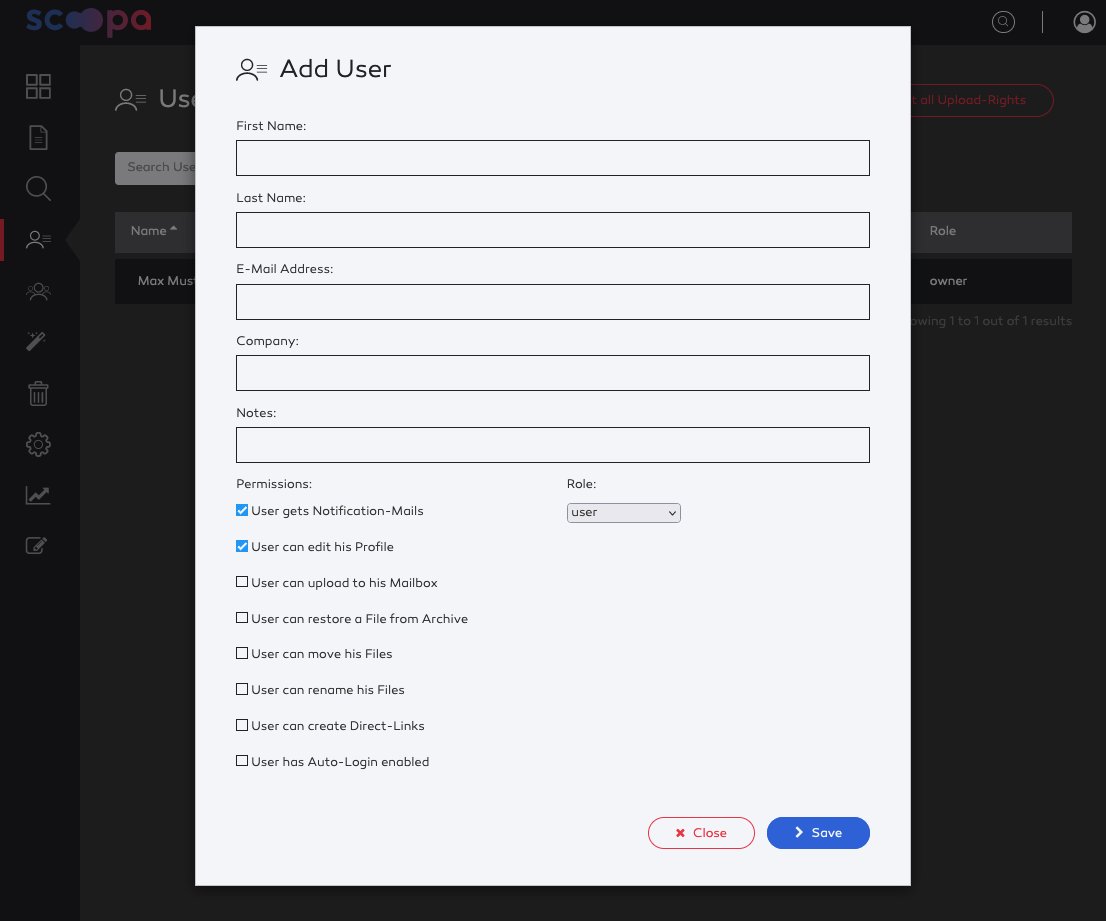
New user dialog.
New user dialog

Tipp

To design a better folder structure you should read our article on the scoopa philosphy.


Invite your first user

To create your first user go to "Users" and select "Add User".

You must at least provide a last name and the e-mail address. Permissions and the user role can be adjusted as needed. You can read more about permissions and roles here.

Add user dialogue.
Add user dialogue

After you created your first user, you will be redirected to the user list. Next, you have to manage the folder rights of your new user. To do that, edit your new user by clicking the edit icon or the e-mail in the user list.

Edit user-rights in scoopa.
Edit user-rights in scoopa

There are 5 different rights that can be assigned:

  • read - the user can view the folder and its contents as well as watch previews

  • high-res - the user can download the high-res/original version of the file

  • low-res - the user can download the low-res version

  • manage - the user can manage the folder

  • upload - the user can upload new files to this folder

Click the respective right(s) buttons for a specific folder (or the buttons above the column to select all). Selecting a right will automatically applied to all the leafes in the folder tree below the selected folder.

You can collapse or expand the folder tree as needed by clicking the folder icon in front. This is especially useful for large folder trees.

Rights & Inheritance

You can read more about user and folder-rights as well as rights-inheritance here.


Upload your first file

The easiest way to upload a file to scoopa is using the web uploader. Go to the folder you want to upload to and select "Add File" and "Choose file(s)" to select one or more files on your computer.

You can use the original filename or provide a new one (not available for selecting multiple files). Furthermore you may check if a notification should be sent for this particular upload.

You can cancel, pause and resume your upload anytime.

scoopa web uploader.
scoopa web uploader

Available options:

  • Auto-Archive after first billing period. Read more about cost control here.

  • Direct-to-Archive for cost-effective upload direct to the archive-pricing tier. Learn more about Direct-to-Archive and our pricing tiers.

Alternative upload options

If you want to upload a lot of files or you want to automate uploads, you can use our Direct-Cloud-Ingest via Amazon S3. Read more about this here.