A quick overview about the folders in scoopa, folder structure recommendations, and available folder actions.
Folder structure explained
As explained in the article "Understanding the philosophy" we recommend you to organize your folders by content type. But of course you are free to structure your folder as you see fit. There are no restrictions in scoopa considering building a structure.
Folder view
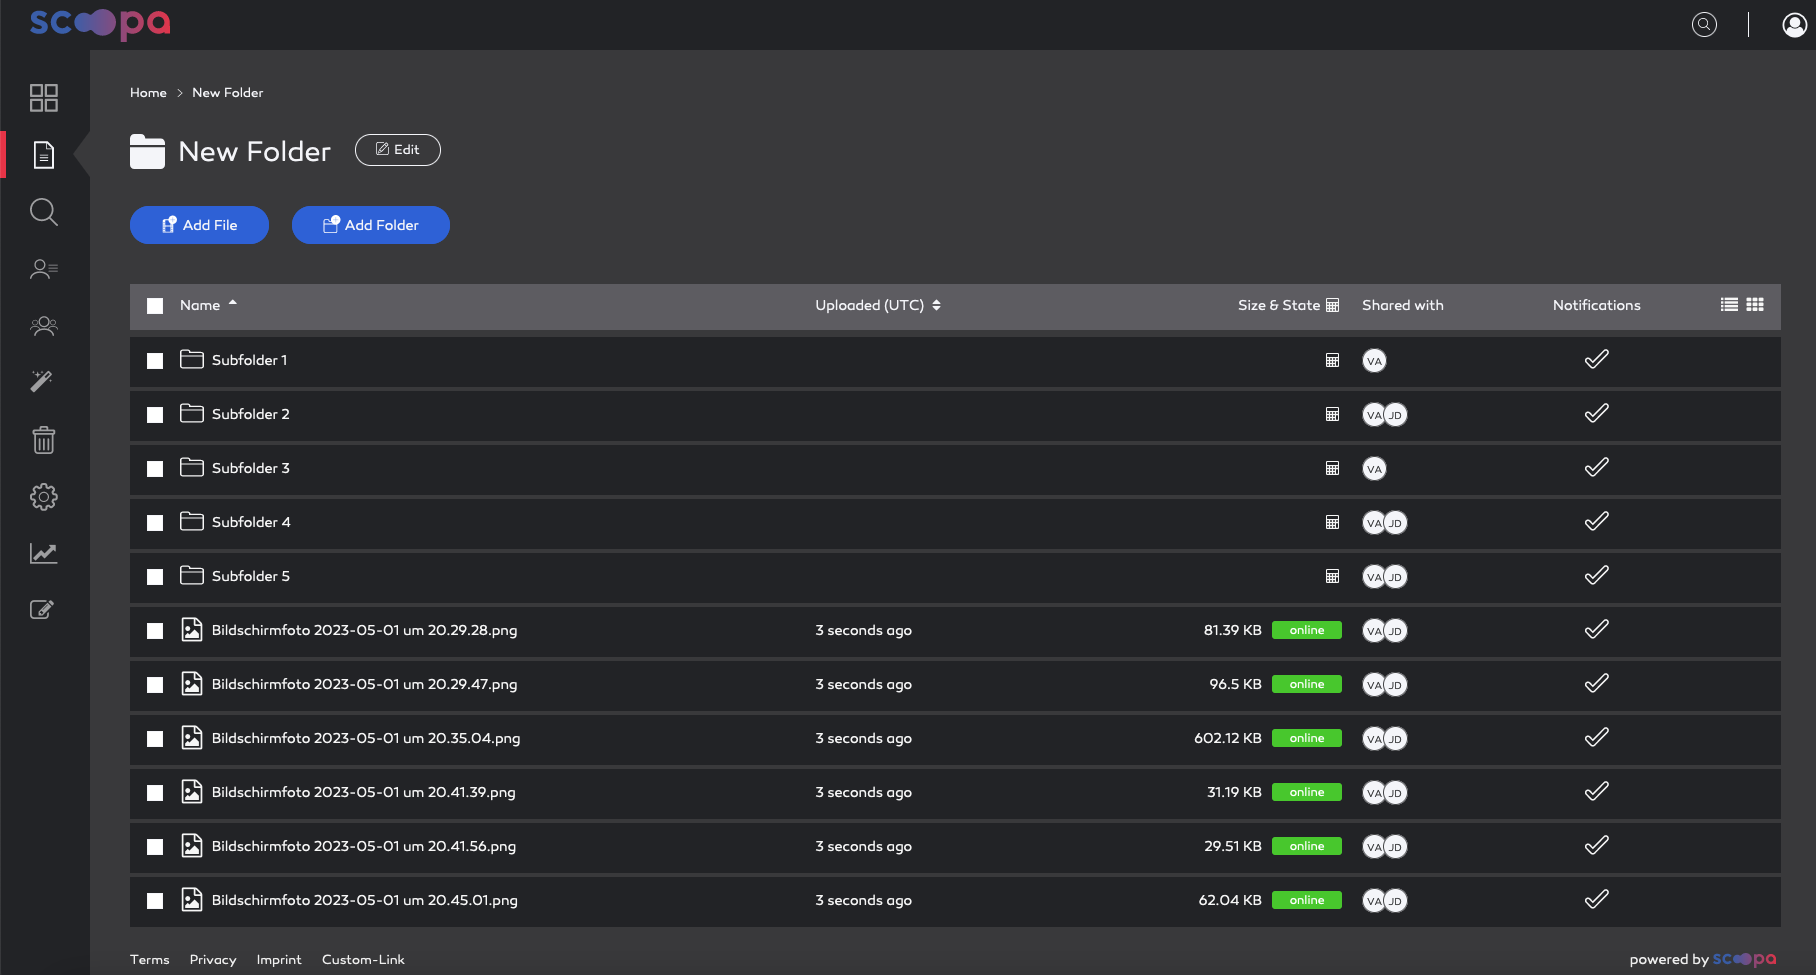
Except for the action buttons on top, the folder view is the same for admins as well as for users.
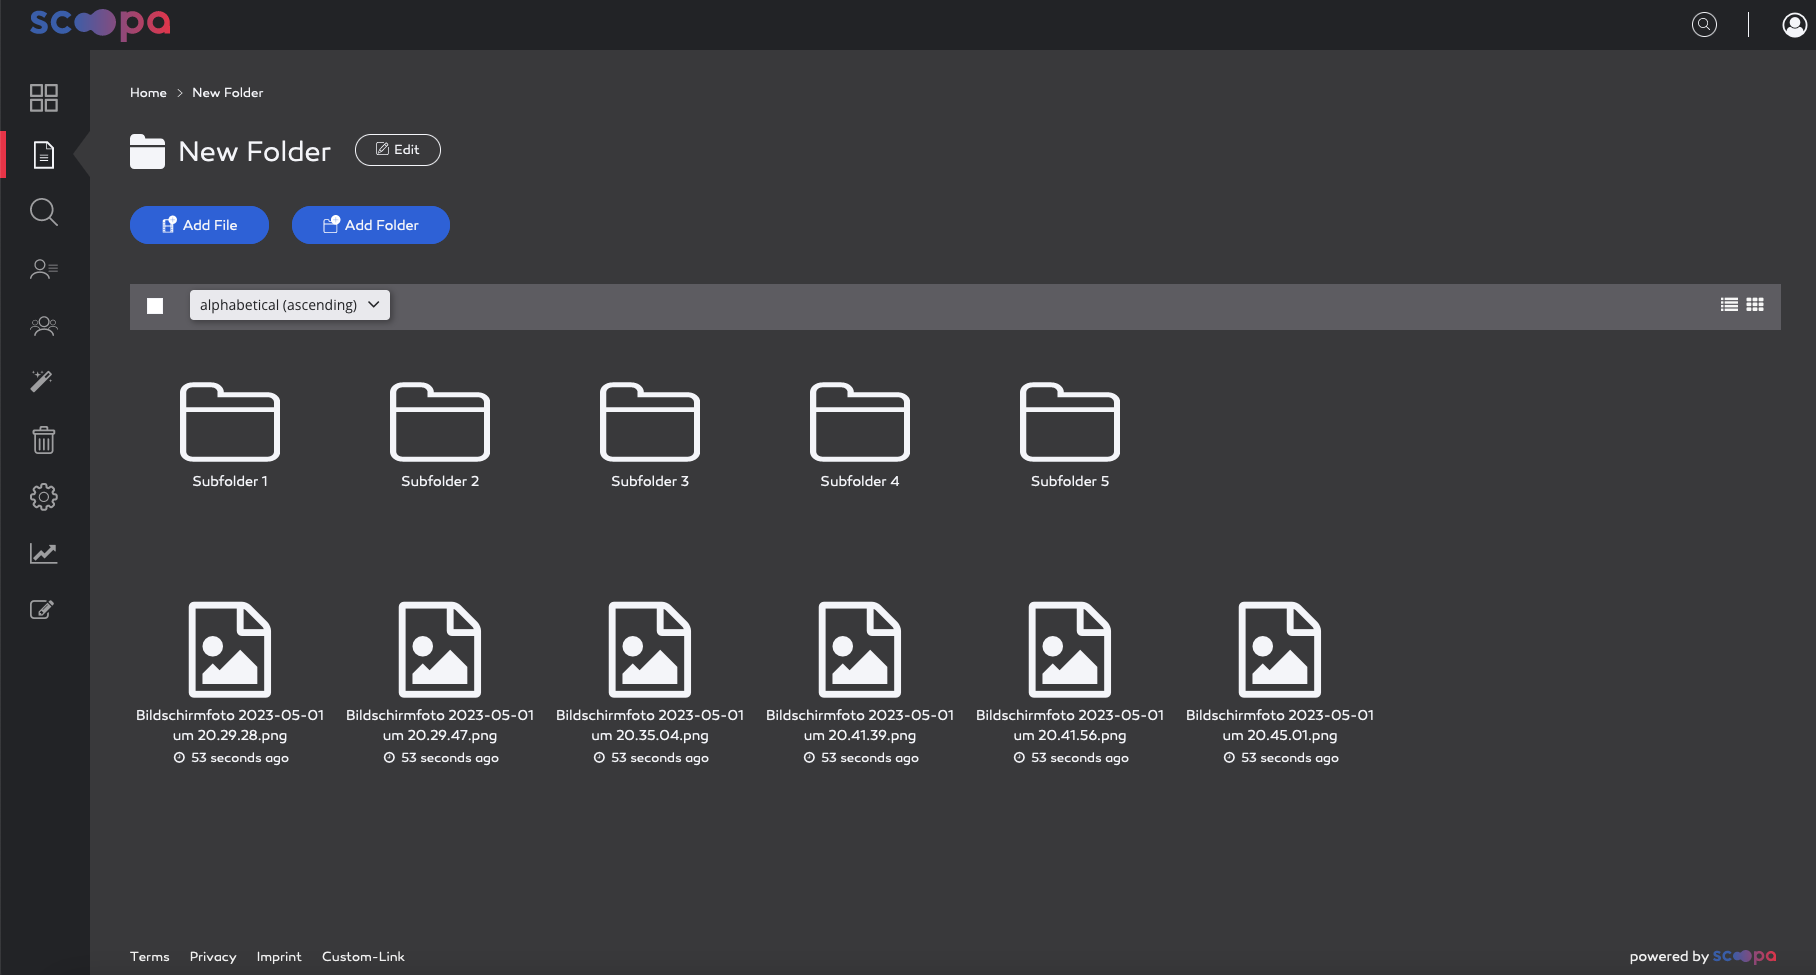
The folder views can be toggled between the list view and the grid view:
list view
grid view
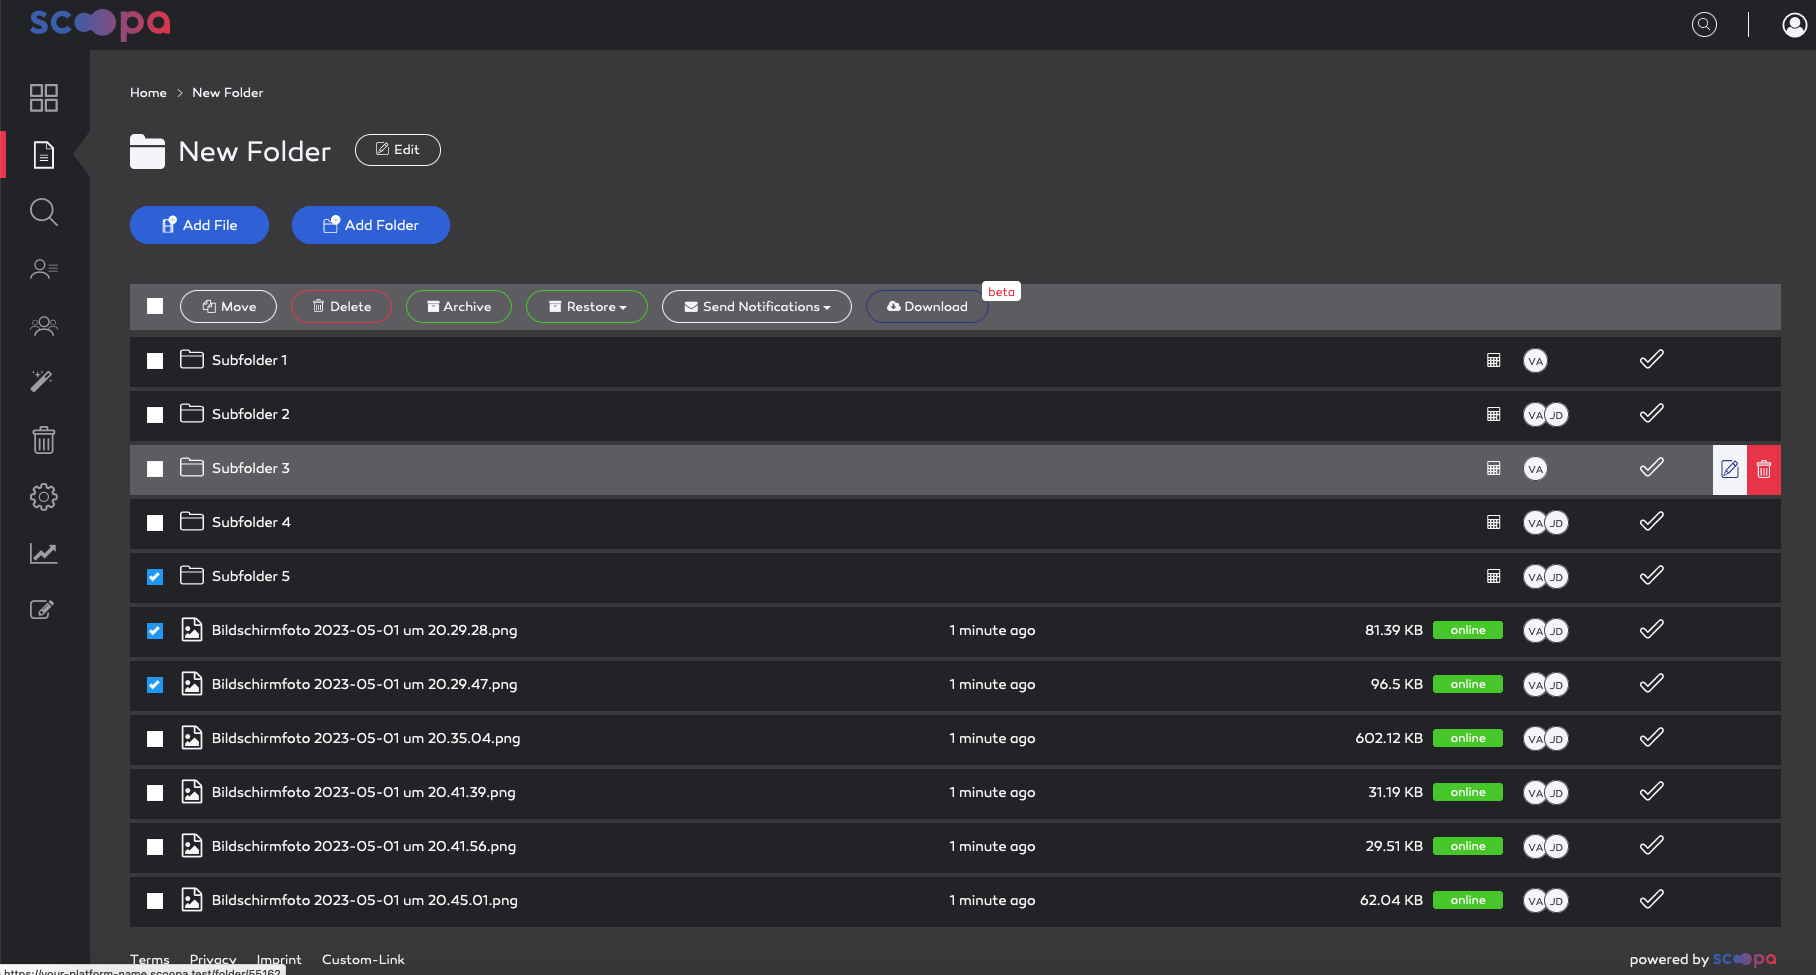
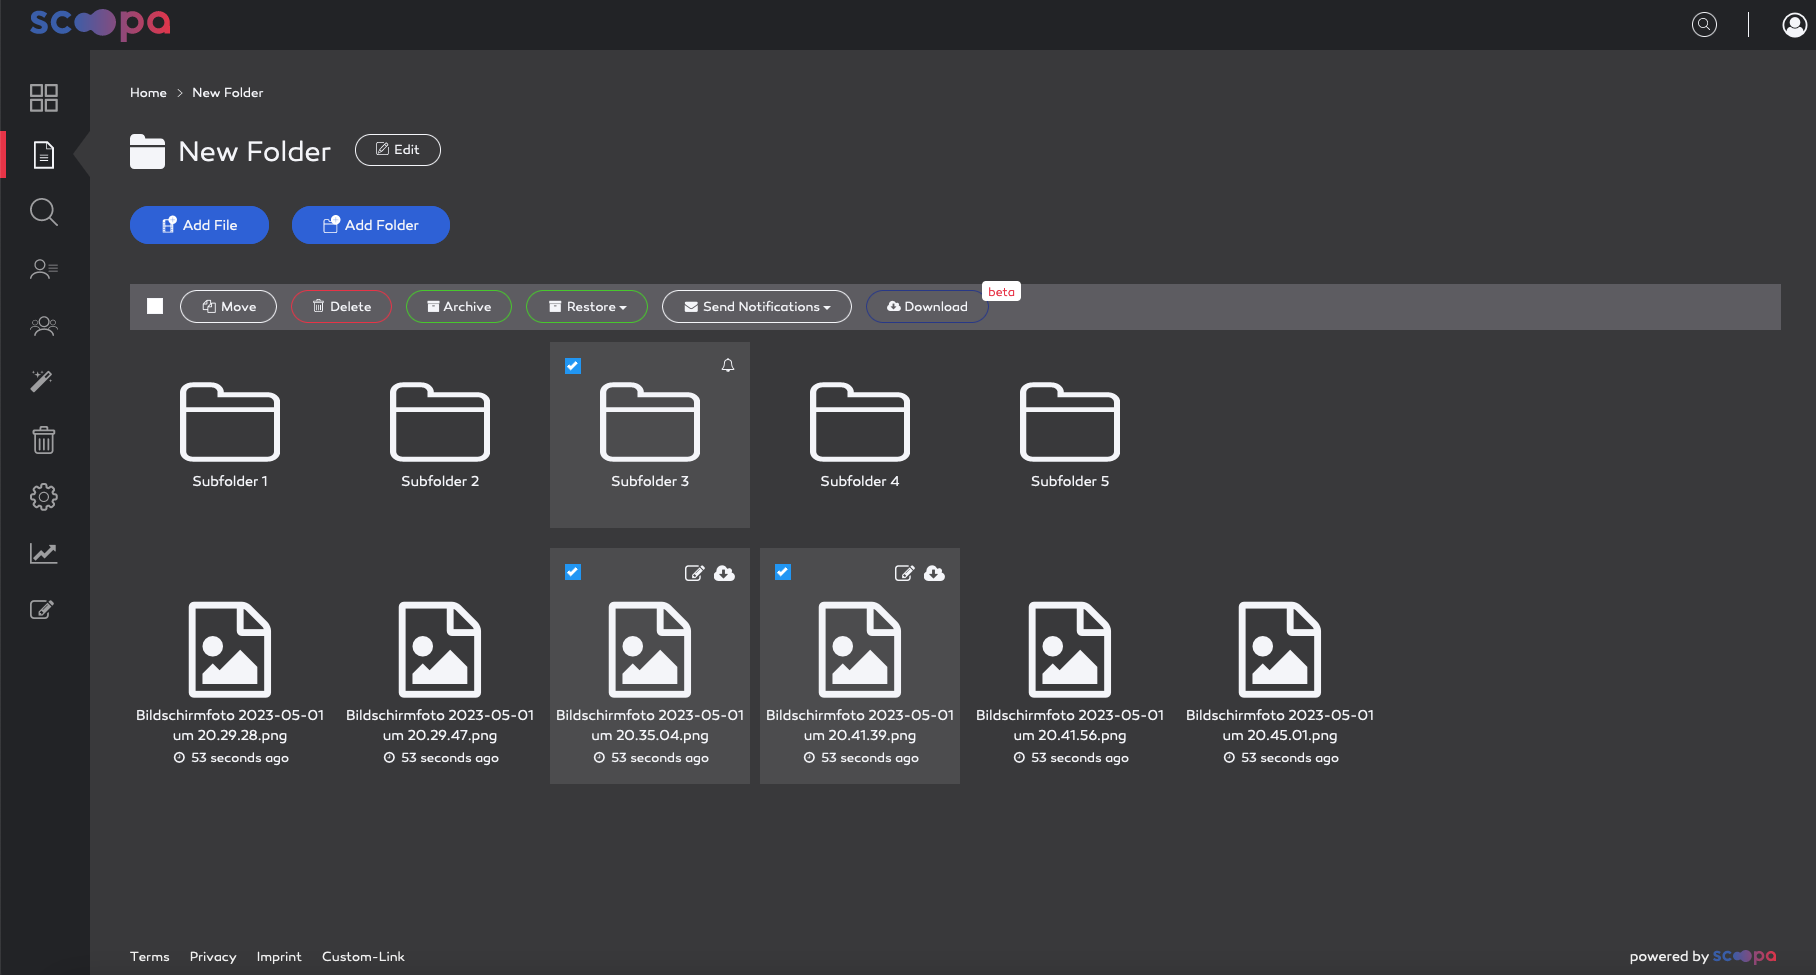
Folder actions are accessible in both list and grid view.
Folder actions in list view
Folder actions in the grid view
Folder and file status is visible in the "Size & State" column. You can trigger a calculation for the size and status of folder by clicking the calculator icon.
The "Shared with" colum indicates the users that have access to the folder by showing the user initials. This is useful for small recipient circles where most users are known.
The "Notification" column indicates whether notifications are enabled on the folder.
In grid view there is only a subset of indicators present and visible. If a folder has notifications turned on, the folder is marked with a bell icon.
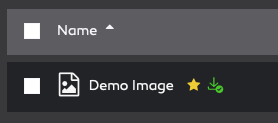
Additional indicators
There can be additional labels behind a file or folder name indicating:
a featured folder (star icon)
if you have downloaded the file already
Access Control
The new rights management
Access Control in scoopa allows for a very granular configurations. You are able to assign the following rights to users and usergroups:
read - user can view the folder and its content and also play the preview
high-res* - user can download the high-res version of all assets in the folder.
low-res* - user can download the low-res version of all assets in the folder
upload - user can upload to this folder
manage - user can manage the folder and the files within
You may also mass assign rights with the buttons on the top right of the matrix.
* = this right can be also set for a specific period of time. Please have a look at section "time limited download rights" below.
The new color scheme for the rights management
As you may have noticed in the previous screenshots, the folder tree can now be collapsed to increase the overal visibility and to improve the management of large platforms with many folders.
It is also possible to toggle the whole tree with the new button "toggle collapse".
This feature is also available in the "edit user" and the "edit usergroup" view.
Time limited download rights
The rights to download high-res and low-res files can be limited in time. To do this, the corresponding right must first be activated (yellow for high-res or purple for low-res). Otherwise the icon is not clickable.
Clicking on the clock icon of the relevant folder opens a dialog window. Here you can configure the time window during which files in this folder can be downloaded by the currently selected user:
set period for time limited download rights on folder
Red clock icon showing time limited download rights
Setting the high-resolution download right for a specific time period also activates the low-resolution download right for the same period, provided that it is activated (purple background).
If you want to delete the permission again, you can do so in the same pop-up window by clicking on “Clear.” The permission will then be active again for the folder and all activated subfolders.
If the user opens any asset in this folder, the corresponding download buttons are hidden and replaced with a note indicating when the file will be available for download. As soon as that time is reached, the buttons become active.
Notifications
When a new asset is uploaded, the user receives two notifications:
The first one is sent at the time of upload, as usual. The email informs the user when he will be able to download the file.
As soon as the download time has been reached, the user receives another email stating that the file is now available for download.
Folder inheritance
The default behavior in scoopa is full inheritance of all user rights from the parent folder. This can be overridden in the "Add Folder" dialogue. You can also select to inherit the copyright metadata field from the parent folder in this dialogue.
Notice
Inheritance has only a one-time effect. That means once you create a new folder inside a parent folder, all current rights will be inherited. Following changes in the parent folder will not trickle down to the child folders.
Create folder
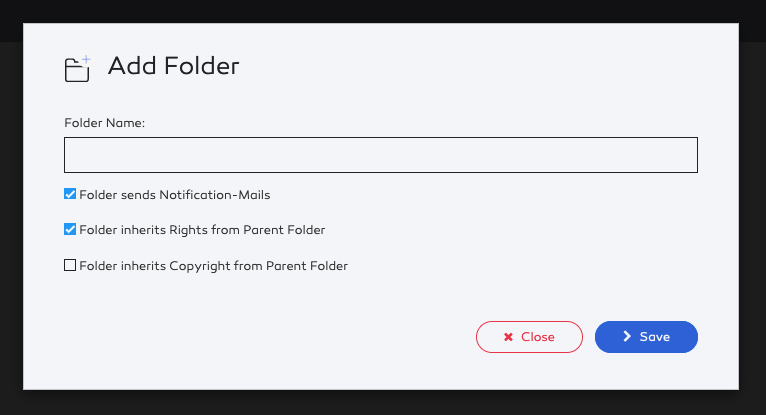
To create a new folder, select "Add Folder" in the files root or in any existing folder. You are not restricted when choosing a folder name. You can also choose to inherit rights (default: true) and copyright-data (default: false) from the parent folder.
Furthermore you can choose if the new folder should send notifications. This can be changed at a later point by editing the folder.
"Add Folder" dialogue
Tip
Disabling notifications can be useful if you want to prefill your folders before notifying your users. For example folders that contain a lot of images and should not send out a massive amount of notifications.
Edit folder
You can edit a folder by either clicking the edit icon in the folder listing (only visible on hover) or by going to the desired folder and click the "Edit" button.
Once in edit mode, there are two main areas to focus on: "Access Control" and "General Settings".
Edit folder - access control
As documented in the Access Control article you can manage rights for one user or many users at once in this matrix.
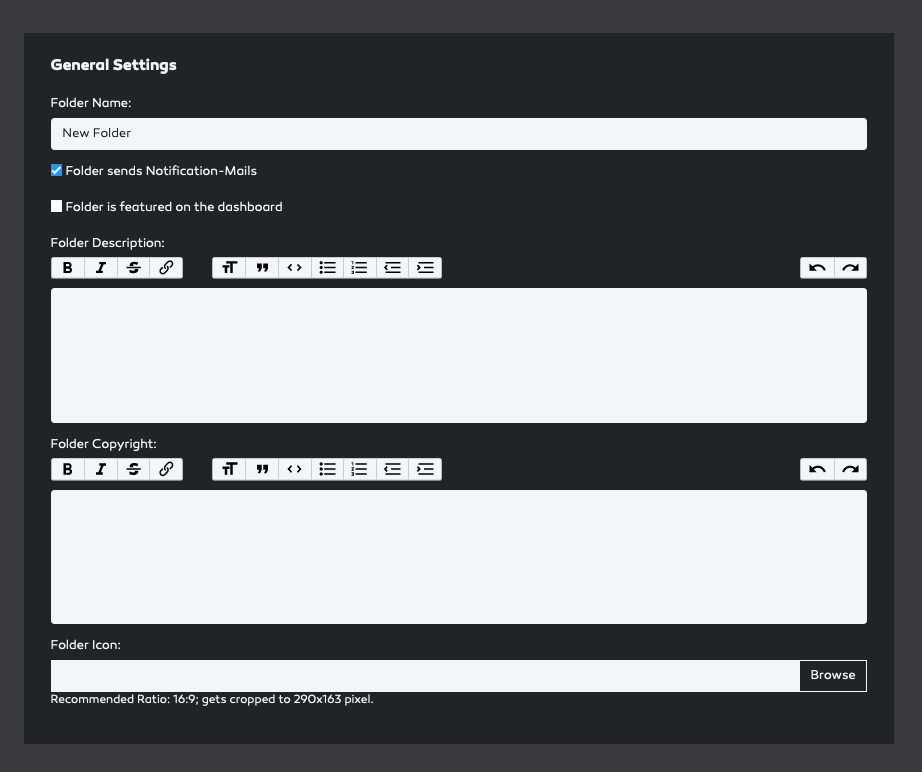
Folder edit - General Settings
In "General Settings" you can change the folder name, notification settings and if the folder should be featured on the dashboard or not. You can also add a folder description and a copyright notice with our rich text editor.
To better discern folders in grid view, you can provide a folder icon image. It is also possible to brand a folder with a custom header image. Learn more about that here.
Hint
You can change the folder name at any time. This has no effect on previously generated links or notification mails.
Delete folder
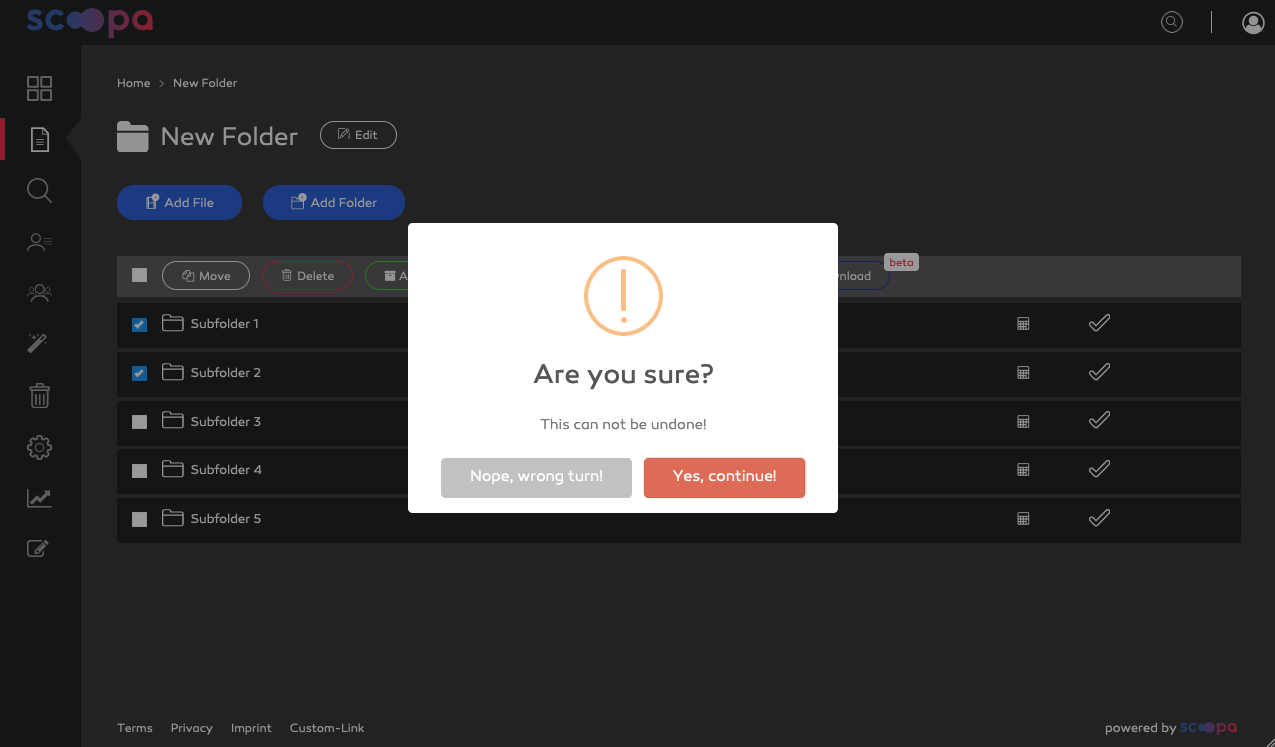
Deleting a folder is a very straightforward process: in order to delete a folder, you can press the delete button inside a folder. (You must first edit a user). An alternative way is to select one or more folders in a folder listing and then press delete.
Delete folder confirmation dialogue
Every deletion must be confirmed by entering "DELETE" in the dialogue.
Move folder
You can move folders by pressing the "Move" button either from within the folder edit view or by selecting folders in the folder listing and selecting the "Move" action button.
Move folder dialogue
After that you need to select the target folder and proceed. Please note that you cannot move a folder onto itself or its children.
Notifications
Please note that moving a folder will not trigger any notifications in the target folder.
Archive & Restore
As you cannot archive folders per se, but rather their contents, archiving & restoring folders is a helper function to do just that. All files in the folder and in subsequent child folders will be archived or restored.
The process itself is as easy as deleting or moving. You can select folders from a folder listing and select the action "Archive" or "Restore". Let's start with archiving:
The archive confirmation dialogue
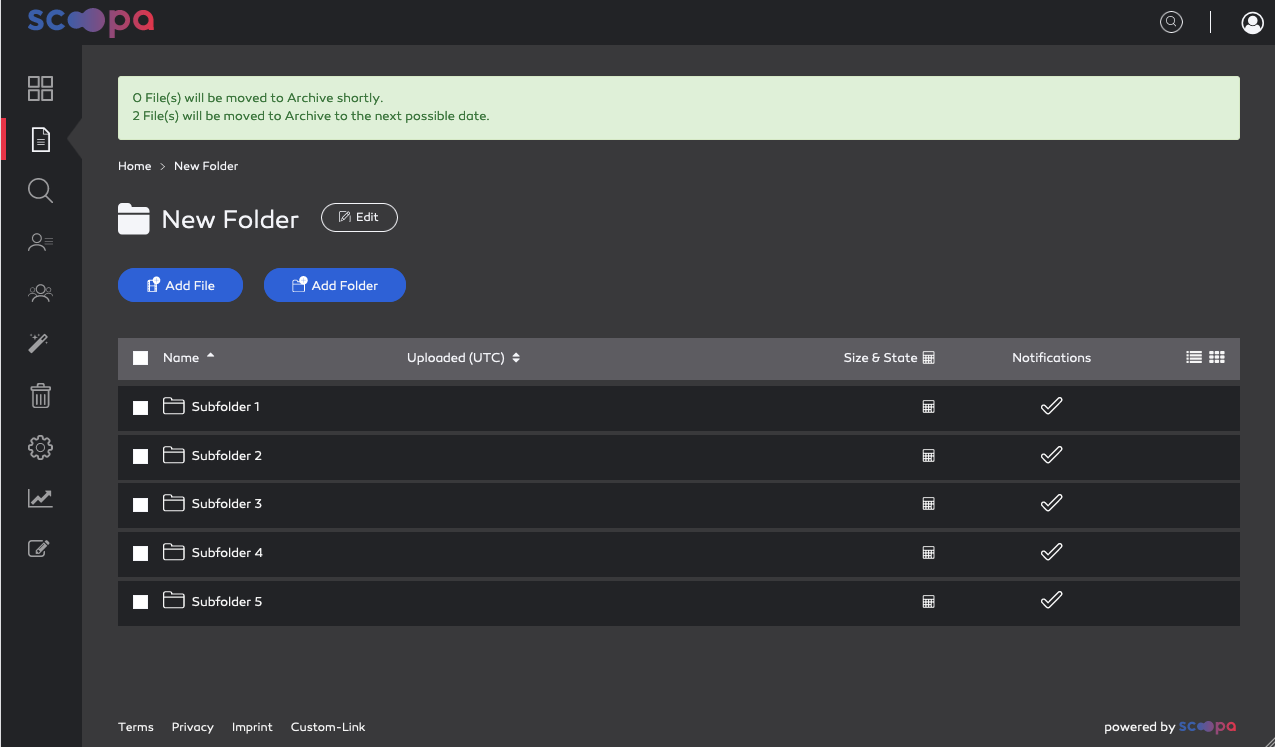
Report after archiving
After confirming the archive process, all suitable assets will be archived immediately, and all non-suitable assets will be scheduled for archiving at the next possible date.
Restoring folders is a similar process. First you have to select the folders you want to restore in a folder listing, followed by selecting the time period for restoring from the "Restore" drop-down menu. You can choose to keep files restored until the end of the current month (ensuring that you won't be billed again next month), for 7 days, 2 weeks, 1 month and 1 year and also forever (permanent restore).
Restore folders from archive drop-down menu
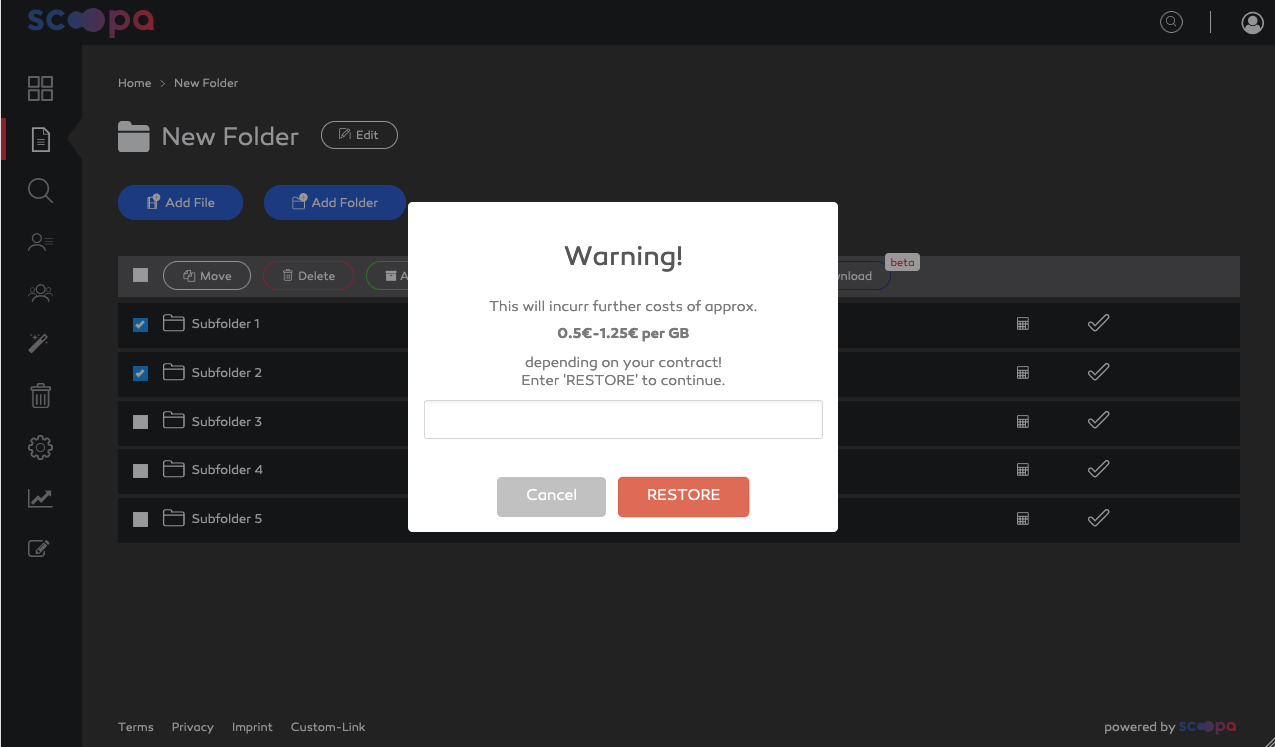
Confirmation of restore costs
Please be aware that for restoring files or folders you have to confirm that costs according to your subscription plan will occur.
Copy folder structure
You can copy entire folder structures (without files). This is useful, for example, if you want to manage recurring events with the same folder structure without having to recreate each folder and associated permissions individually.
To do so, navigate to the edit view of the parent folder you want to copy and click on “Copy folder structure.”
original event folder "Event 2025"
Edit folder view
In the pop-up window, you can select the name of the new folder and the target folder (in the example, the new folder “Event 2026” will be created in the root folder "/").
If you check the box for “Apply folder permissions from original folder,” all user permissions will be transferred 1:1 from the original structure (per folder).
Copy folder structure dialogue
After copying, a success message confirms that the folder structure has been imported.
Copy folder structure success message
Content of new folder structure "Event 2026"
Import folder structure
Another option for creating entire folder structures at once is to import them. To do this, an empty folder structure can be zipped and imported into scoopa.
To do so, navigate to the edit view of the parent folder you want to copy and click on “Import folder structure.”
In the pop-up window, similar to creating a new individual folder, you can first choose whether notification emails should be sent as soon as files are uploaded within the folder tree. You can also specify whether the folder tree should inherit the same user rights as the current folder.
In the pop-up window, similar to creating a new individual folder, you can first choose whether notification emails should be sent as soon as files are uploaded within the folder tree. You can also specify whether the folder tree should inherit the same user rights as the current folder.
Clicking on “Select zip archive” opens the file browser. After successfully selecting a corresponding zip file, its name is displayed next to the button (in the example: “event_folders.zip”).
Clicking on “Import” creates the folder structure within the current folder.
Import folder structure dialogue
Example folder structure of the zip archive
After importing, a success message confirms that the folder structure has been imported.
In the example, a total of 6 folders were created under “Event 2026” (as shown in the screenshot “Example folder structure”).
Please note: there must be no files inside the zip archive, as this is a pure folder import.