Understanding file states
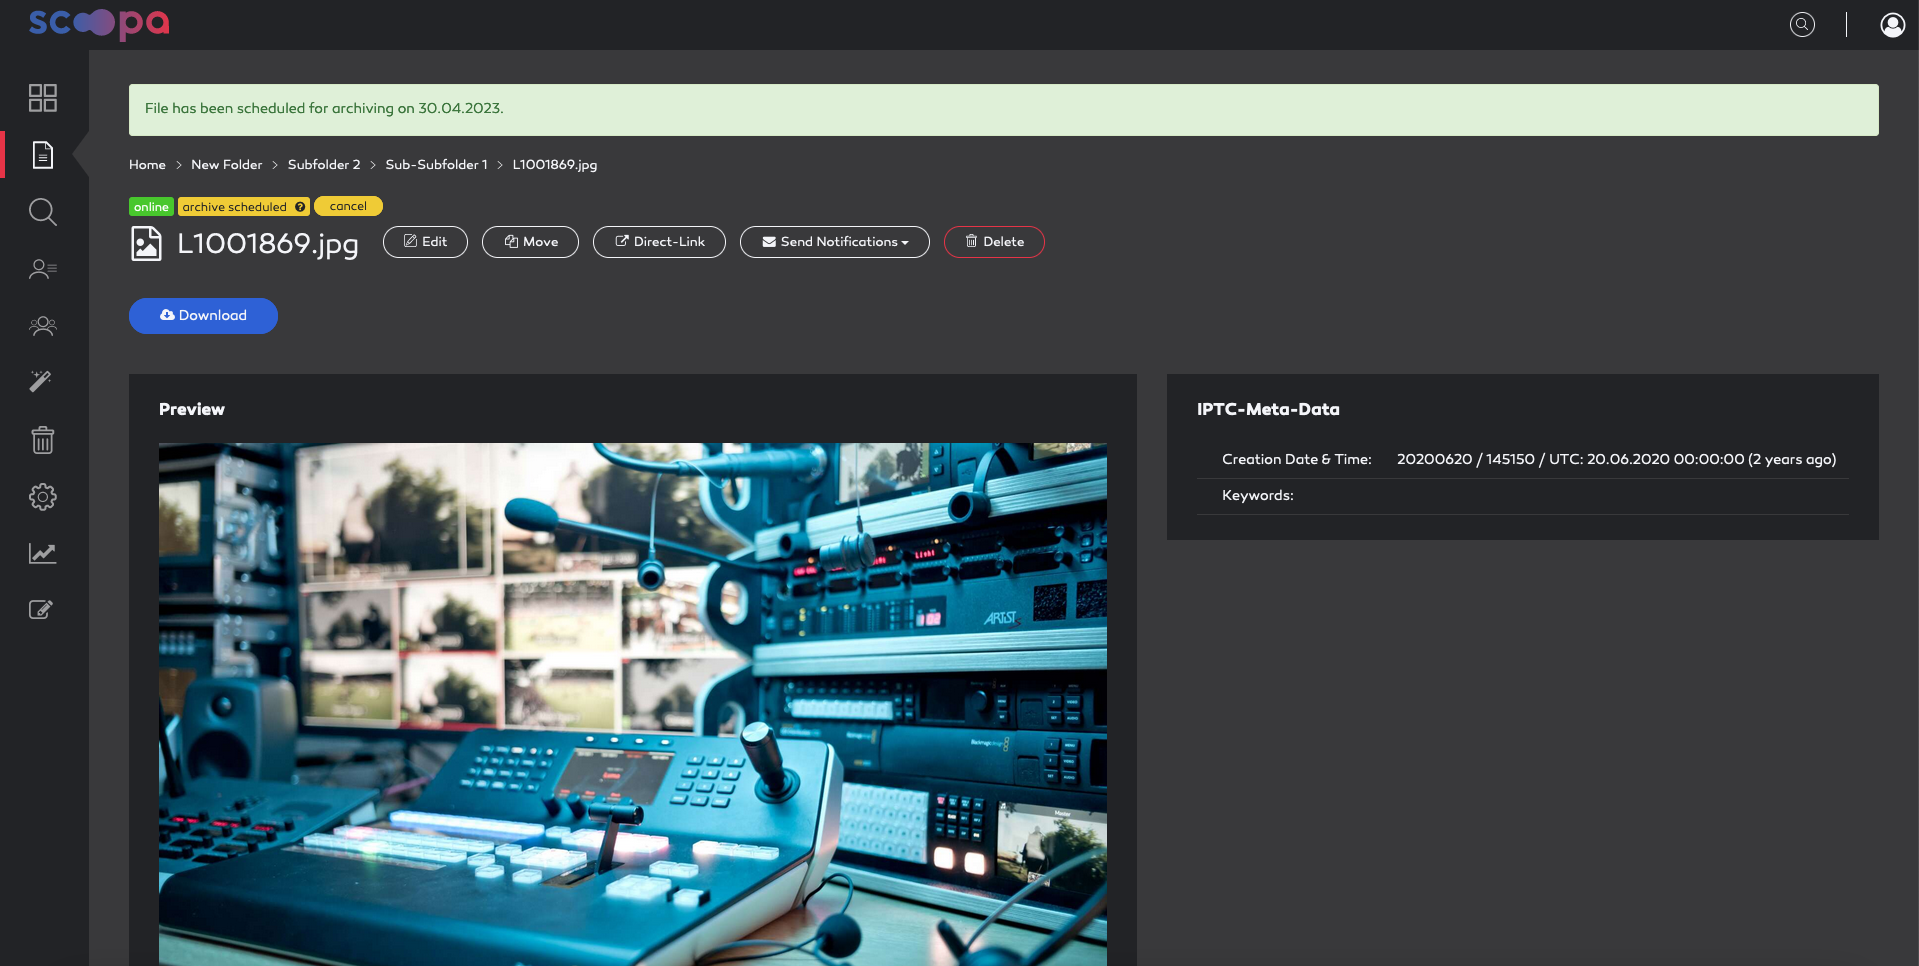
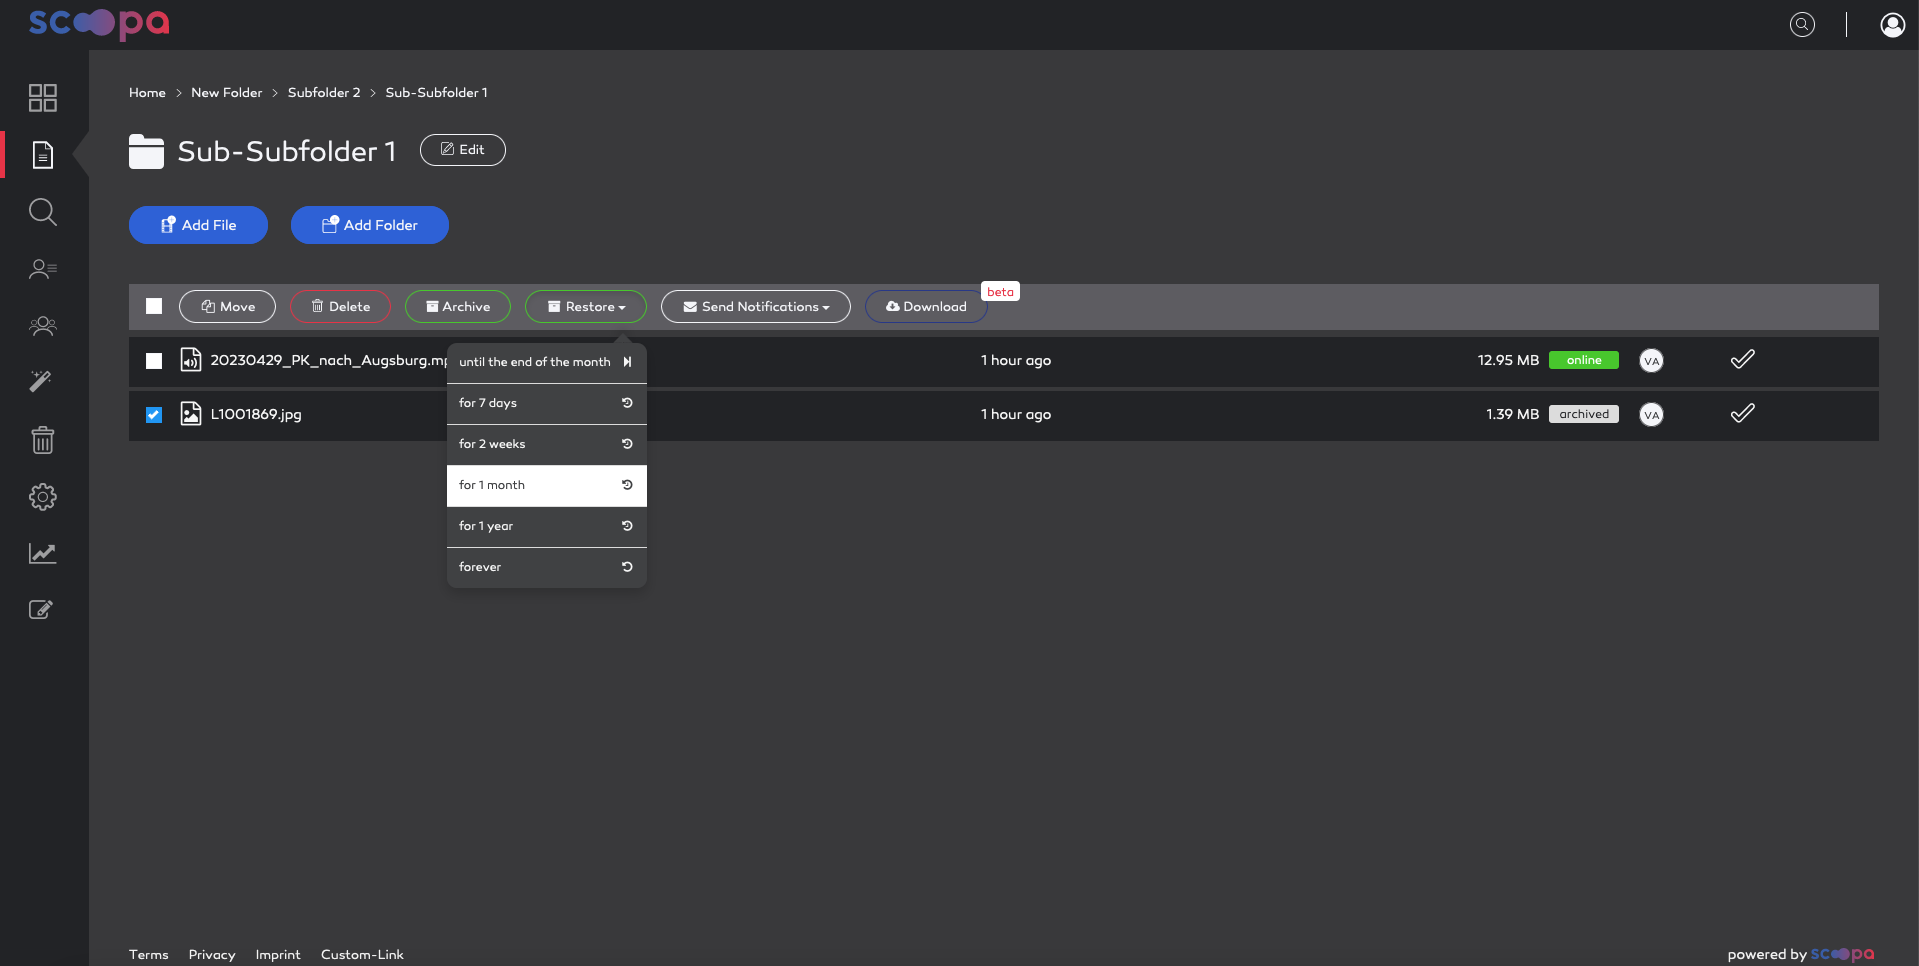
A file in scoopa normaly goes through these states:
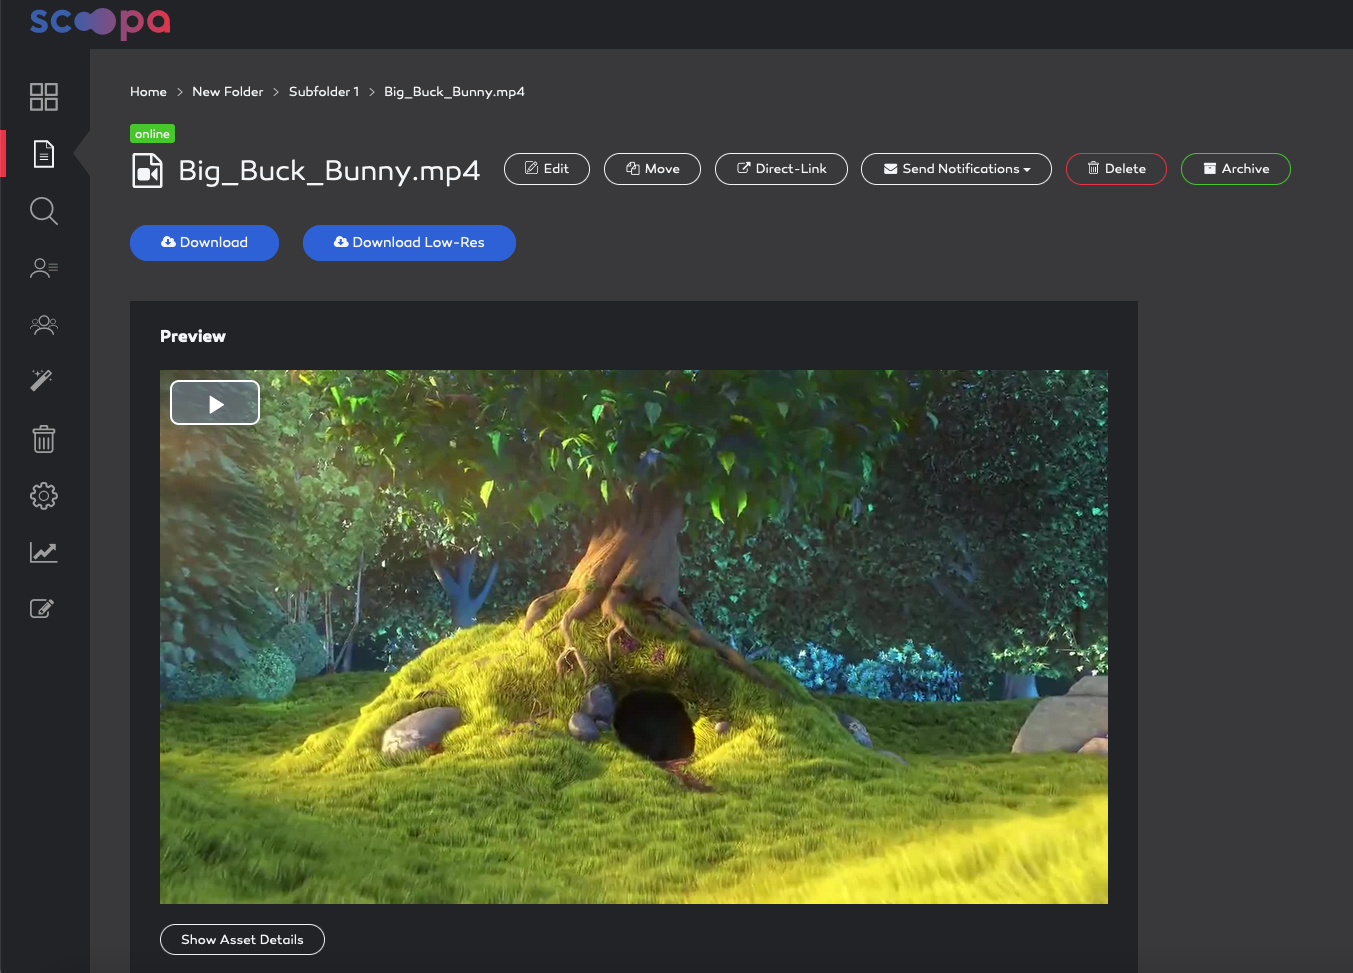
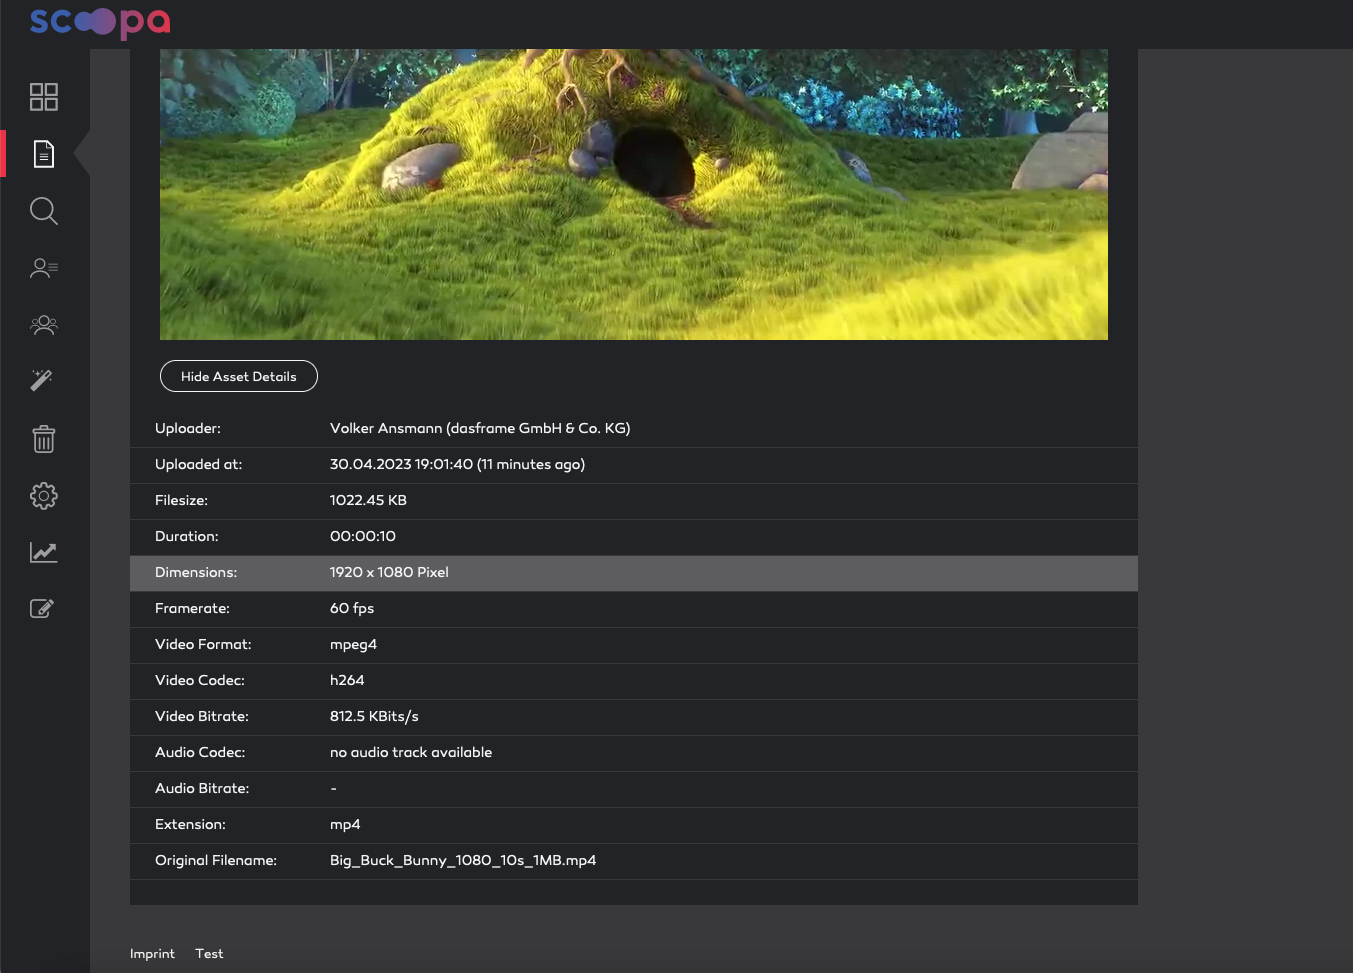
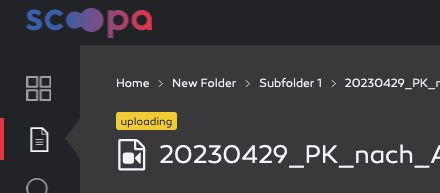
uploading
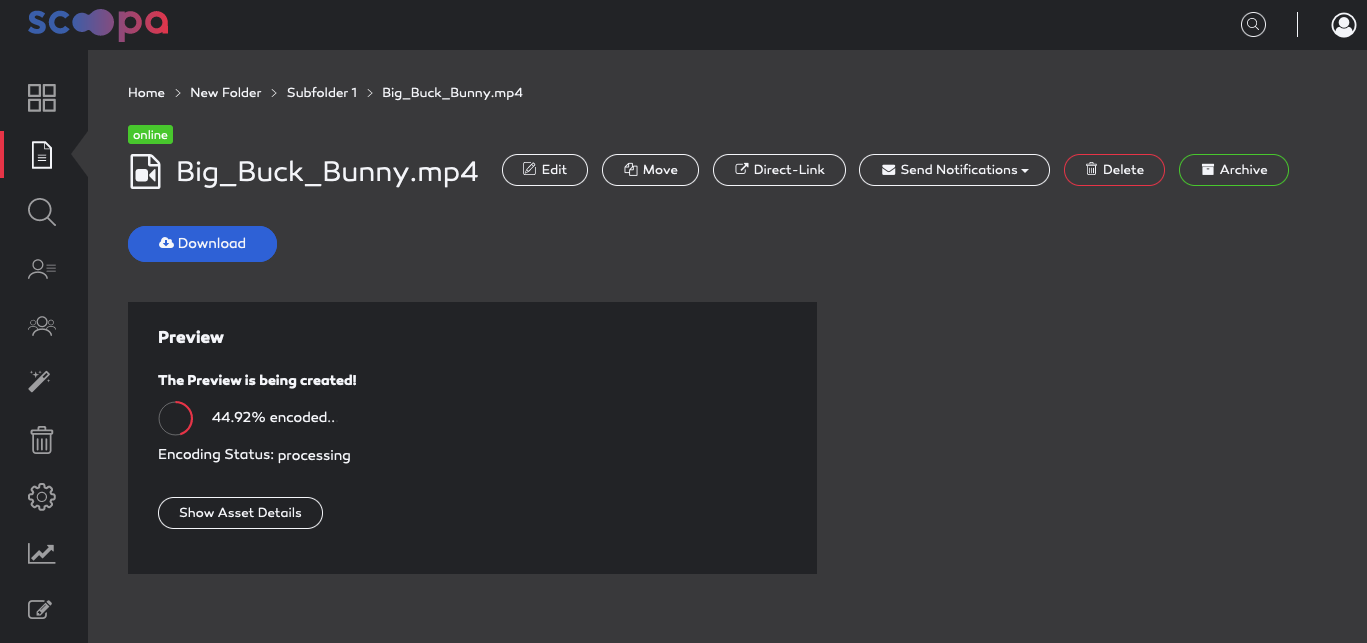
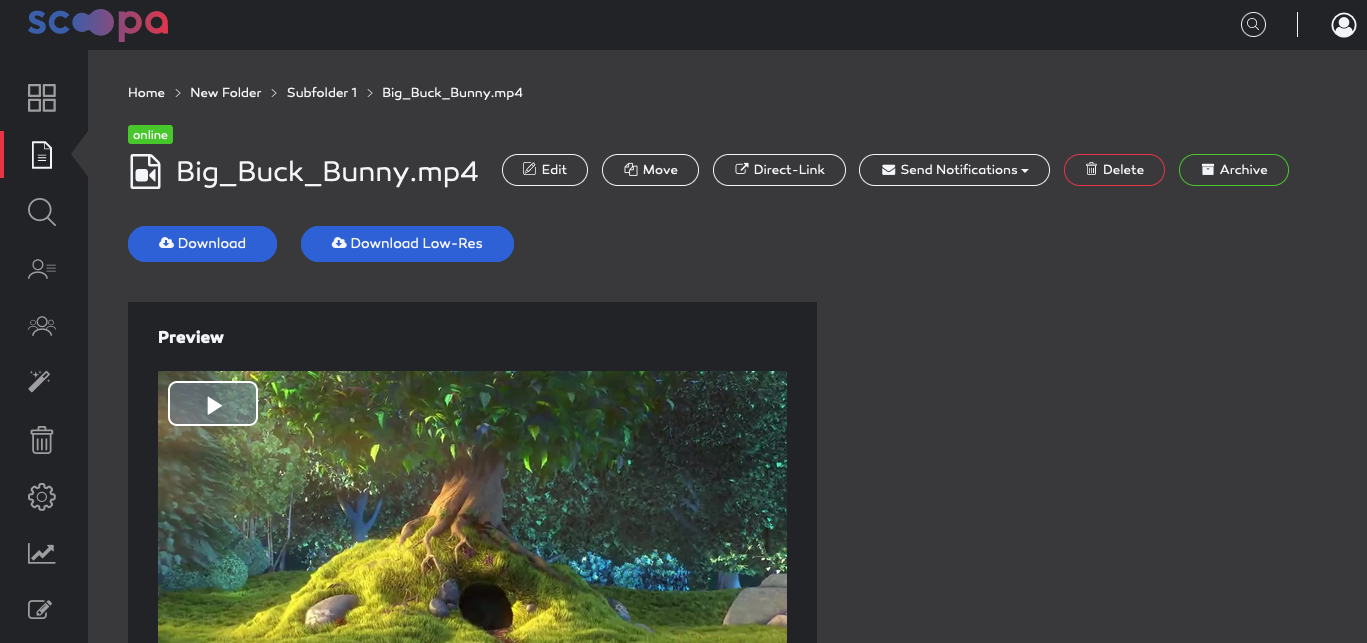
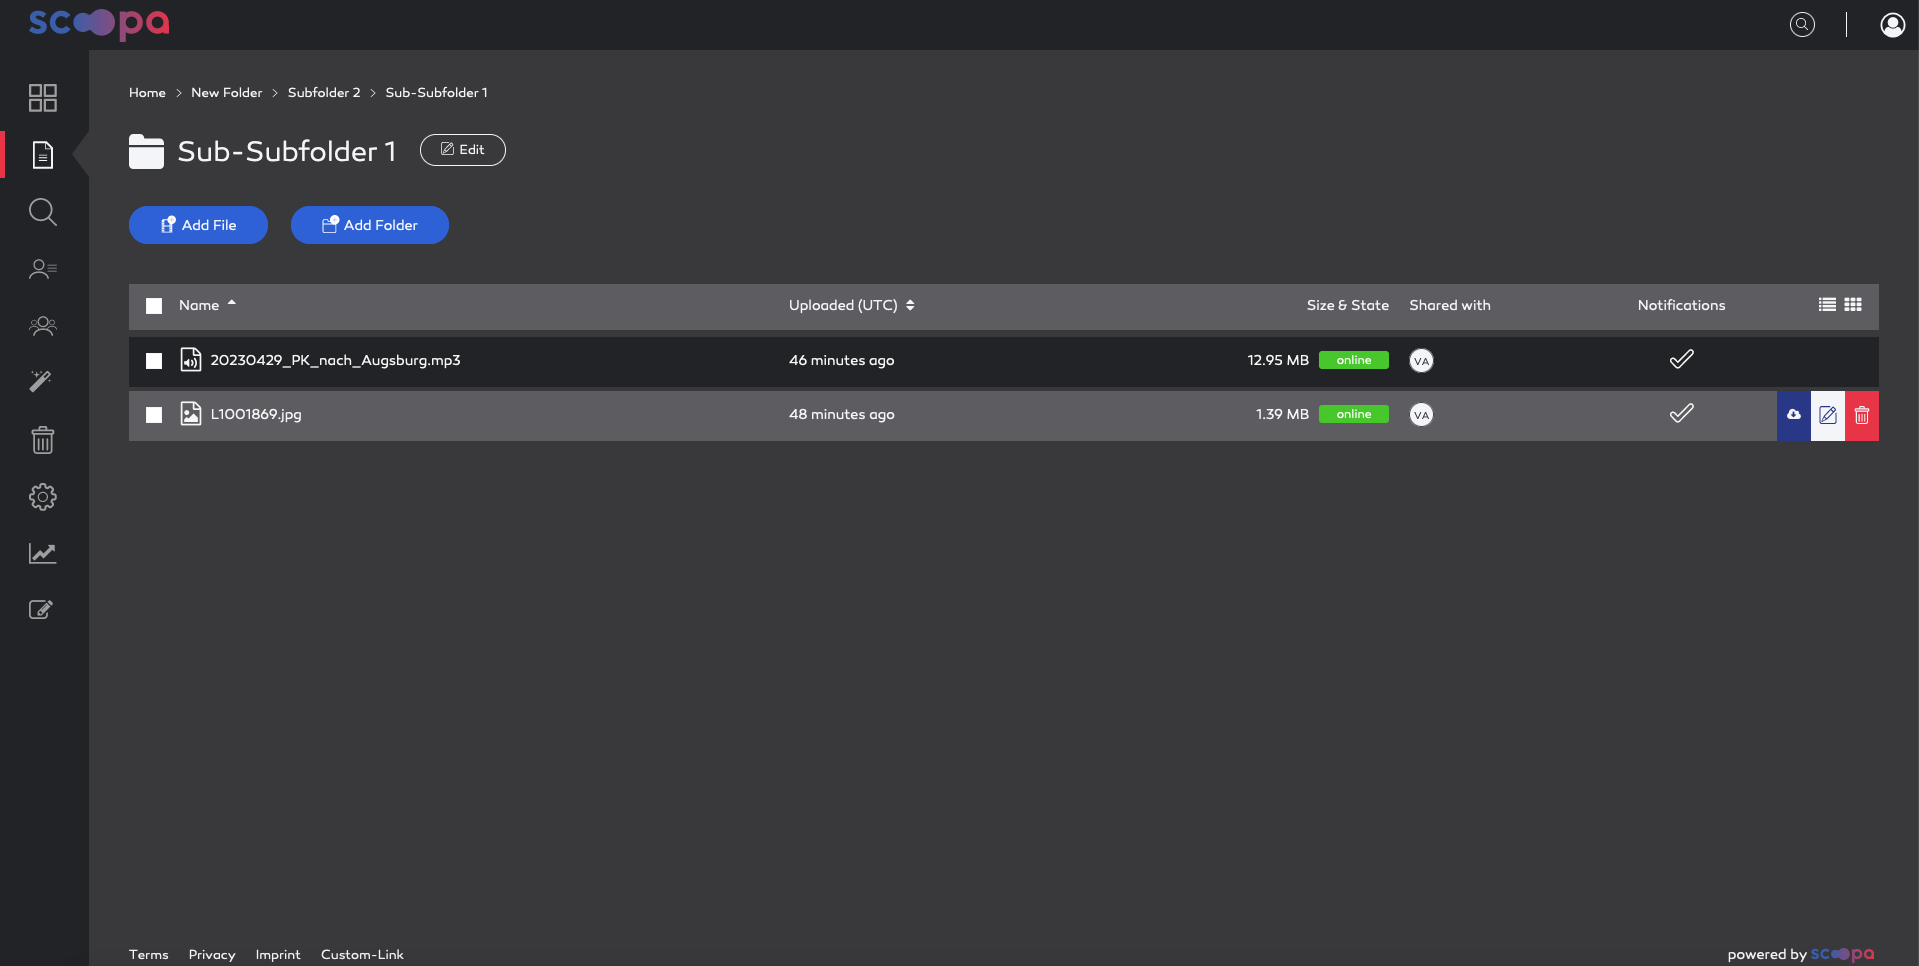
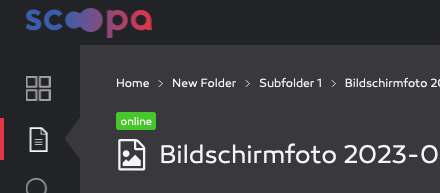
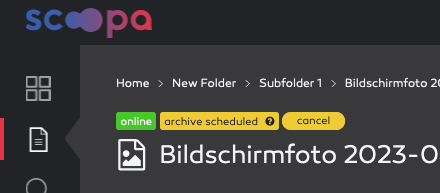
online
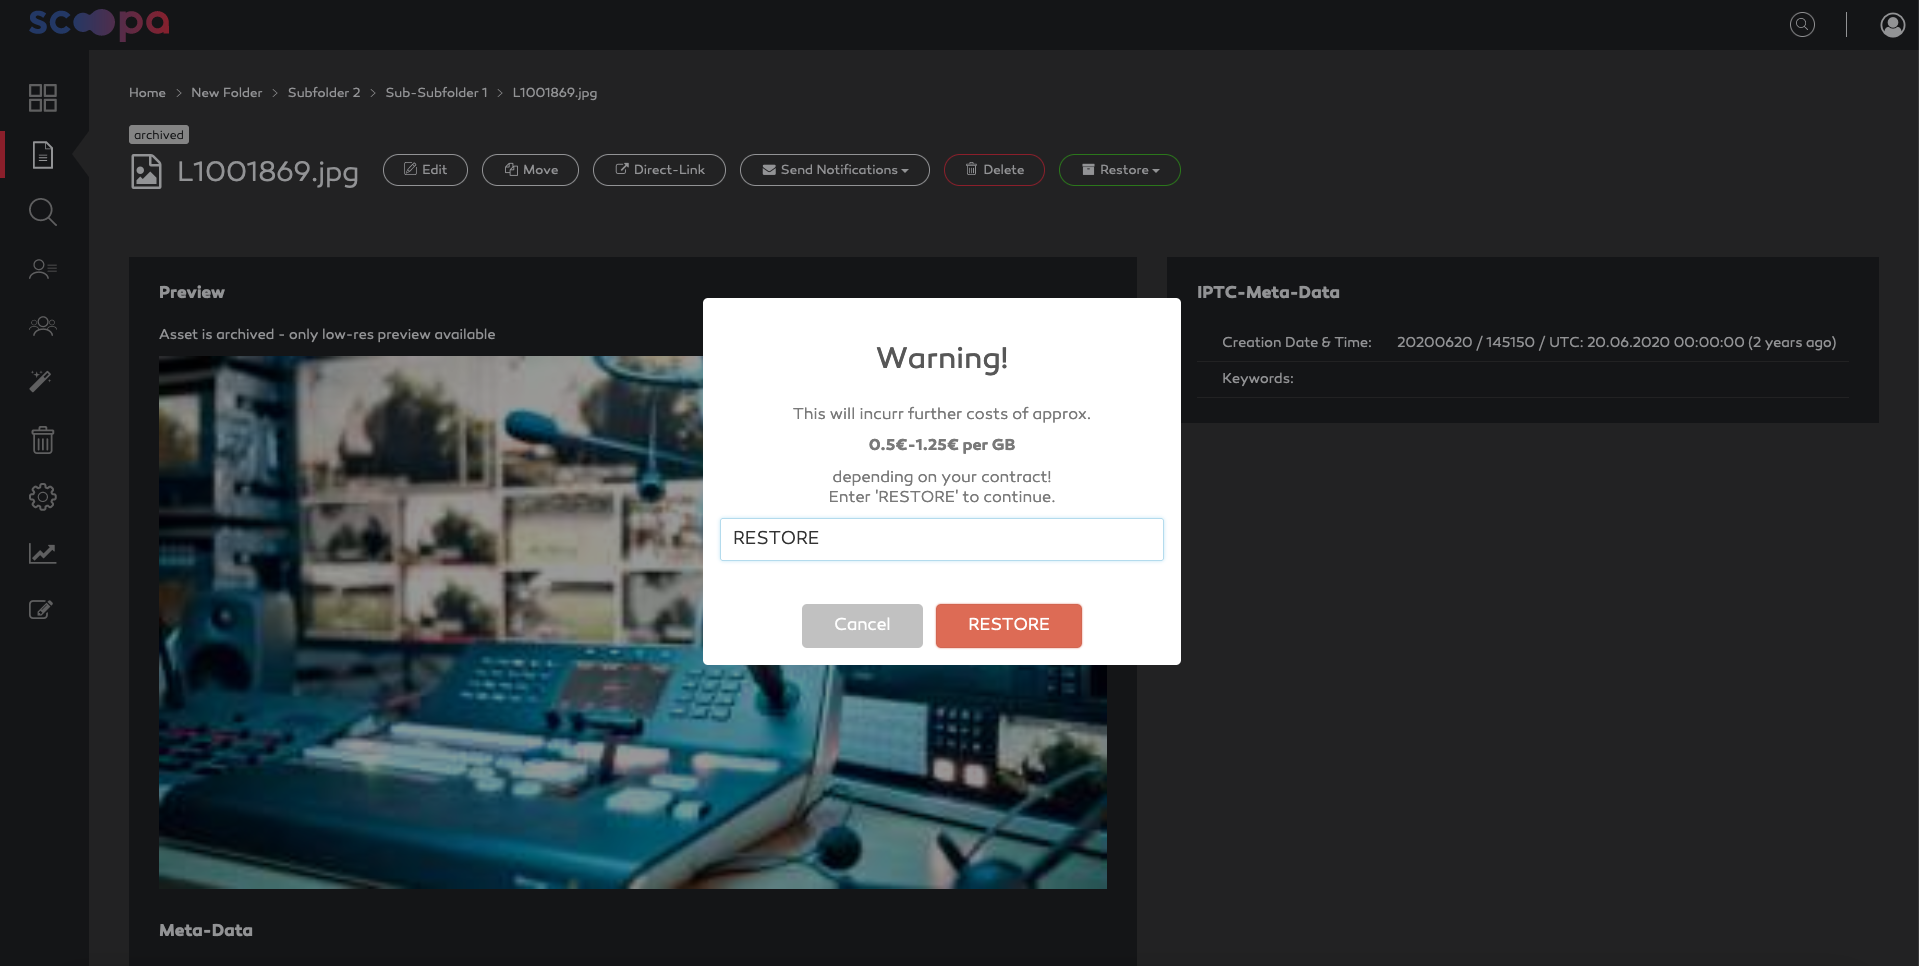
online & scheduled for archiving – when you archive an asset but it is not yet suited for immediate archiving
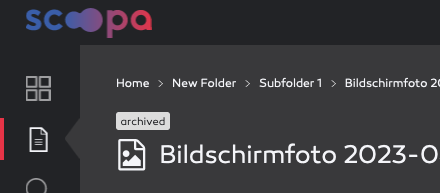
archived
online – restored and optionally scheduled for archiving later
Additionally there is a upload failed status.
Additional indicators
There can be additional labels behind a filename indicating:
star icon – a featured file which is only visible for admins
green icon in the download button – if you have downloaded the file already (and also an additional hint below the download-button)